Showing posts with label galvanized. Show all posts

Monday, April 10, 2017

Gallery Wall Reveal

 I bet you thought I forgot all about my gallery wall. Or that I had never finished it. Nope, I just got caught up in our beautiful Spring weather, a laundry room refresh, working on the wedding spot, and so on.

But today I'm finally sharing the gallery wall in my entryway at the city house. The galvanized family name is hung,

 the scrabble letter names are up, along with the photos and artwork.

I put the photos in simple frames, glued magnets to the backs, and then stuck them to this galvanized board I found at Hobby Lobby.


Jay's robot painting on an old cd

and Megan's embroidered bird
showcase examples of their artwork.

The entryway table has been refreshed with pretty Spring flowers and candles plus a galvanized bucket to hold the mailbox key and outgoing mail.

The glass dish isn't quite what I want to hold the mailbox key but it works for now.

It turned out great! I love how each piece has special meaning for our family.

--------------------------------------------------------------------------------------------------------------------------
In other news, I held a "Painting In The Vineyard" class at the vineyard close to our farm this weekend. Simon and Christine are such gracious hosts of Sabor a Pasion Estate and Vineyard and it's a beautiful setting. We had fun!
All set up and ready to go!
Good job, ladies!
Everyone with their beautiful paintings
I'll be teaching another class there soon - we'll be deciding on the date later this week so be sure to check their Facebook page and on my blog. We'd love to have you!


Friday, February 10, 2017

Creative Friday #2: Rustic Wood and Tin Family Sign


Remember the tin letters I showed you a couple of weeks ago a friend gave me for Christmas?

Well, today's the day I show you what I did with them. Welcome to another edition of Creative Friday!

Little did my friend know I was thinking of making a gallery wall and putting a family name sign on it. Her gift couldn't have been more timely!

I instantly knew they were going to be the jumping off point for my name sign. First, I needed a board long enough for the letters so off to my stash of old fence pickets I went.

This board was the perfect length but very dirty so I gave it a good scrubbing down. After it dried, I sanded it down to smooth out the extremely rough texture (I need the letters to stay glued on).

Then I pulled out some white chalky paint and gave it a good coat. (Let dry)
 From there, I gave it a slight distressing.

Last, I glued down the tin letters using E6000 glue. Hangers on the back and voila! A family name sign - a little bit rustic and a little bit shabby. Perfection in my book!

I have a couple more easy projects to share then I'll be putting it all together. It's going to look great!

Be sure to check out my shop  - click on the Tin Roof Studio tab under my header. I've added several new art prints.

Monday, January 30, 2017

Gallery Wall Plans


I've been wanting to do a gallery wall for a long time. However, I was struggling with what I'd put on ours. Then this winter while removing Christmas decor, inspiration finally struke.

Here's what I'm starting with - this is the entryway at the city house. It needs some love. 

I've had   the silver cross and the large "B" with the frame around it for a long time. And of course the photos of my kids.

I like the black frames. I feel like they ground the space. And I like the silver cross. But I'm tired of the antique gold color of the "B". What I'd like to do is add more silver and perhaps white to the mix along with some rustic touches.

These tin letters my friend gave me for Christmas will be used here, you can count on it! 

Then I want to add in more family pictures (Megan and Dylan, me and Bruce for starters), some elements like Scrabble letters, bees (we're starting a hive at the farm this Spring), and weathered wood pieces here and there. Eventually, it will all be at the farm so I'm trying to keep that in mind too.

In the next few weeks, I'll be sharing some DIY projects as I bring my vision to life. 

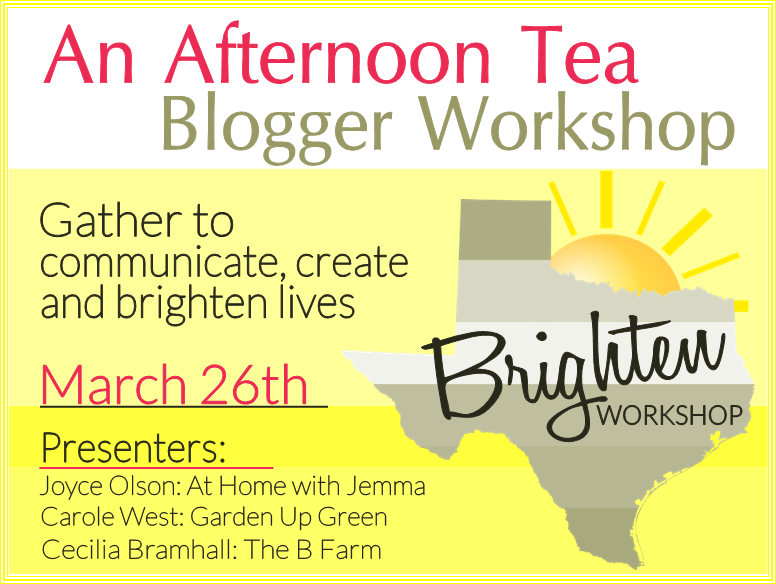
Also, don't forget to sign up for the Brighten Workshop if you haven't already. It is always fun to get together with other bloggers!

I will be demonstrating  how to stencil and you will get to make and take your own garden sign. The sign up button is at the top of my sidebar. Hope to see you there!

Please join me at these parties:
Show And Share

Thursday, June 23, 2016

Update on BBQ Area

Hi friends! It's been awhile since I posted anything on the BBQ area. It's not finished but I thought I'd share what I've done so far.
Even though I still need to paint the table and the cart, things look pretty good.
I found a great metal sign in Canton and hung it on the fence:
The "mosquito" plants have really filled in and grown:

I made a wooden arrow and painted it, then hung it up on the shed. It sort of points at the BBQ pit. :o)
The plants along the side area are happy. My Angel Wing Begonia is blooming away!

And to help get plates, napkins and plasticware outside, I bought this cute tote from Hobby Lobby and a galvanized tray from Wal-Mart. They are perfect for carrying everything outside in one go.

A mason jar holds the plasticware:
A metal bee adds a touch of whimsy. Isn't he cute? Perfectly safe too - no stings from this guy!
Solar lights hang on the umbrella and when it gets dark, they come on - red, green, and blue.
So pretty although Bruce commented from inside the house, it looks like a UFO. LOL. I really should try to get a picture of it.

You can see the chair cushions in the photo below. Don't they look great? I love how they turned out.

And that is where the BBQ patio is today. Perfectly useable but still needing a few tweaks. Happy Summer!

Linking up at these great parties:
Thoughts of Home on Thursday
Homemade and Handcrafted
Fluster Buster Creative Muster Party

Saturday, March 14, 2015

Mail Catcher

Since we don't live at the farm full time (yet), we don't get a lot of mail.

But what we do get always gets thrown on the breakfast bar. Can you say messy and unattractive? Ugh.

All the mail is junked on the counter - messy and seems to breed more piles of stuff

Of course that means I've been looking for something that fits my style and space. I found several different mail sorters. Like this:
source

or this:
source
I really liked this one:
source

But nothing was the right size. Then when at Target (I have not been compensated in any way. I just love that store and find great things there), I stumbled upon this:


hm, right size, galvanized, and cuteness all rolled into one! I knew with a little bit of tweaking, I'd have just the look I was after. To start with, it was a little too shiny so I had Bruce spray it with muriatic acid and rinse with water to get an aged and rusted look.

After it dried, I took my stencil and traced out my letters "MAIL", then filled in with a Sharpie.


 I hung it by the back door:


Hurray! Now the mail has an out of the way spot until we can go through it and take care of it. Much, much better!


 One less clutter area. :o)

Ta da! Clean counter top. Much, much better!
--------------------------------------------------------------------------------------------------------------------------
I'll be finishing the barn door this next week and working on the guest room...I found the cutest chair and it has sparked a (minor) redo of that room! Stay tuned. :o)

Have a fantastic weekend!

Springtime Projects 3: Have A Seat!

It might still be Spring, but here in Texas, things are starting to heat up and feel like Summer. I knew I needed to get the last of my Spri...