Showing posts with label art studio storage. Show all posts

Tuesday, January 18, 2022

Studio Reveal

 Last week, I showed you the wall we put up in the studio to make a more permanent storage area. In case you missed it, you can read about it here. It turned out great.

Today, I'm going to show you how it all came together plus an easy project to update my tired and faded fabric bins. Come on in!

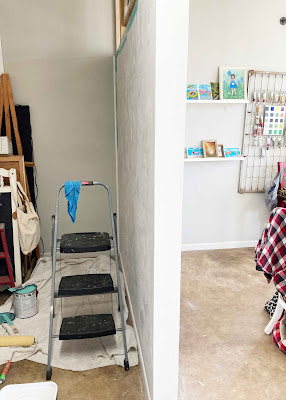
After the wall was finished, I had this nice empty area for storage:


The metal shelf unit Bruce made me went on the back wall, then easels, panels, and other supplies went next to the turquoise wall. 


Eventually, I may put a curtain across it, but most is hidden from my view when I'm sitting at my work table.

One of the things I did was move my bookshelf around from the back wall to in front of the dividing wall so I have my reference and art books close by. I had several fabric bins to hold various supplies. They had definitely seen brighter days - so faded and worn looking now.


As I pondered what to do with them, I decided to just try and paint over them with acrylic and leftover wall paint. I grabbed my Liquitex Acrylic in Prism Violet and started painting one:


I then painted the handle and trim in Americana acrylic in Irish Moss. I was pleased with it, so painted one more that color combo.


Three were painted with the turquoise wall paint and the handle and trim in Liquitex Prism Violet:


The two that were green still looked good so I just painted the handle and trim with turquoise paint.


I didn't add any fabric medium to the paint but did brush watered down paint on the fabric first before adding a heavier coat. It helped it to go on and cover.

I love how they turned out!


After that, it was just putting the rest of the studio back together. Two of my trusty studio assistants helped.

My work table area is all clean too!


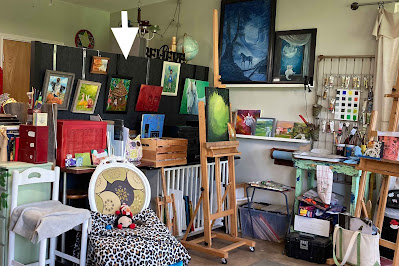
I love how my wall looks on the work side too! The grey showcases the art nicely. My small drafting table is in the corner next to my shelf with my books and supplies:


Here's a wider shot of the painting area - this is opposite of my work table area:

And this is the front with my beautiful windows. 

I hope you enjoyed seeing my studio update. Let me know what you think! Would you have tried to paint the fabric bins? I honestly had nothing to lose so I went for it!

See you Friday for "On The Artist's Doorstep". Until then have a great week!

Cecilia


Friday, January 14, 2022

Something New In The Studio

"When we clear the physical clutter from our lives, we literally make way for inspiration...to enter." -Julia Cameron

The studio was made from closing in part of our barn. It is basically a closed in garage - no closets, just one big room. I love it but I haven't loved the look of things that need to be stored being out in the open. The clutter really interferes with my creativity.

I decided I needed a divider to hide the mess so I used my show wall. It is lightweight and easily moved.


I put tables in front of it to stabilize it. The divider hid the stuff in back but made my painting area feel cluttered too. I felt like it was finally time to add a closet so I asked Bruce for his input. As we talked it out, he made me realize all I really needed was a permanent wall that would allow me to organize my materials and supplies better. 

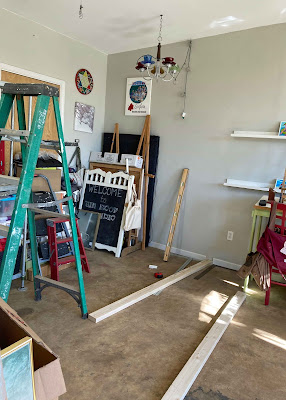
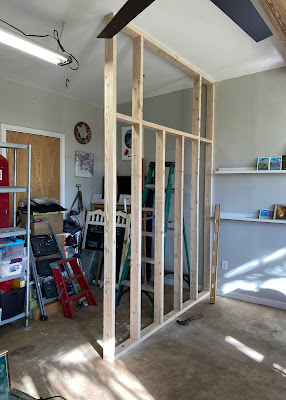
With that plan, we got started. I cleared all the stuff out of the way and he started building the wall.

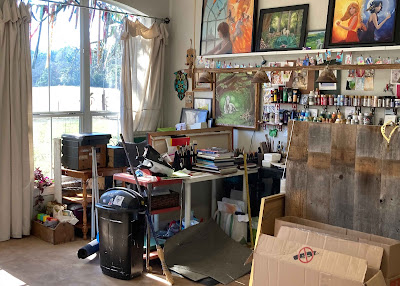
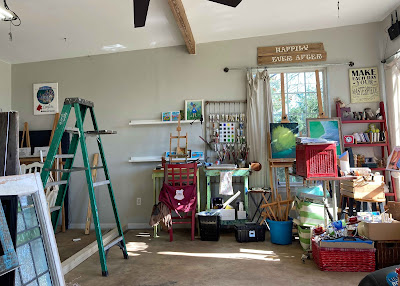
STUFF everywhere!


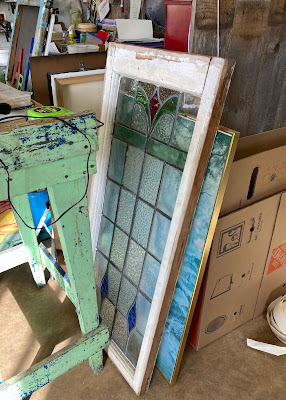
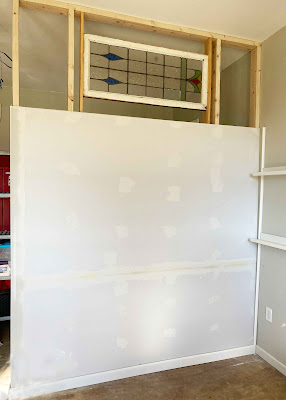
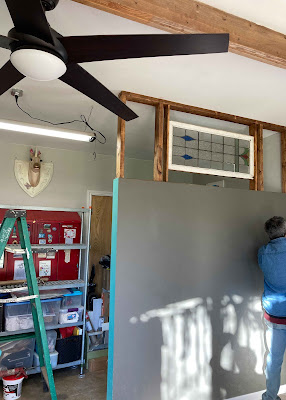
I asked Bruce if we could hang my stained glass window I'd found about 9 years ago. He thought it would work so he made an opening for it.


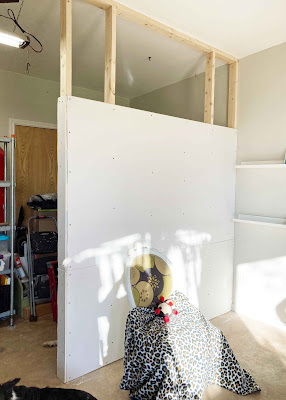
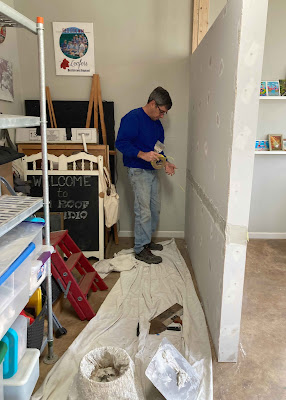
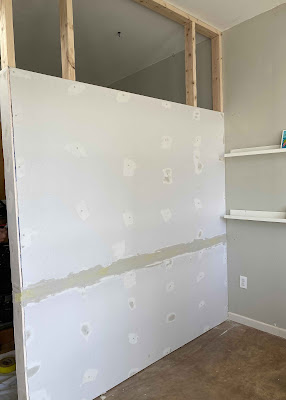
The framework went up quickly. Then the sheetrock and taping.


We got the window in on the 2nd try - after putting it in wrong side out. That baby is heavy!


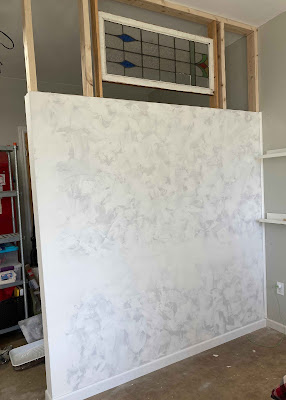
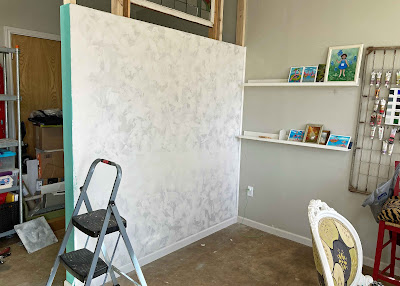
Then it was time for me to texture the walls. I used Joint Compound with a trowel and smoothed it on. It's a very fast and easy technique and gives it an old world texture.

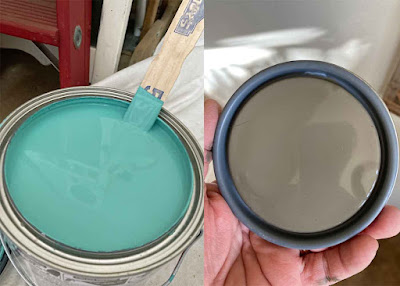
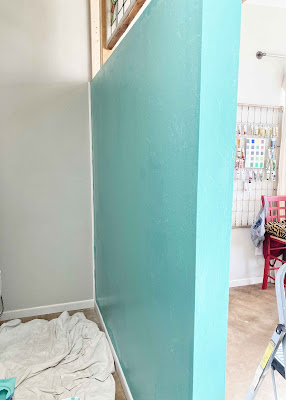
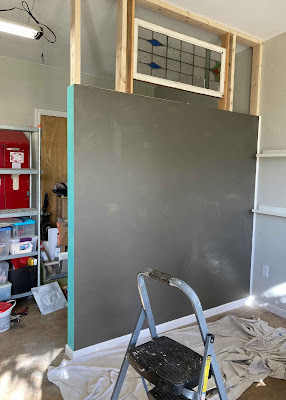
Finally, it was time to paint! But what color? I have lots of purple, lime green, and some red pieces. I wanted something fun and bright that would complement those. I finally chose a turquoise color for the storage area and a dark grey for where the artwork would hang.


What a gorgeous color! 

Time for the grey!


The exposed wood framework was also stained. 

It looks amazing - Bruce did a great job bringing my vision to life once again. I have spent all this week putting the studio back together, cleaning and organizing as I put things away. I refreshed some tired storage pieces too. I'll be back next week to show off the finished room. 

Have a great weekend!
Cecilia


Springtime Projects 3: Have A Seat!

It might still be Spring, but here in Texas, things are starting to heat up and feel like Summer. I knew I needed to get the last of my Spri...