Showing posts with label industrial. Show all posts

Tuesday, February 13, 2018

A Unique Light For The Studio


Remember when I found this chicken line feeder in Canton?

Yikes, has it really been 2 years? It's been sitting in the barn waiting for the day the studio was done so it could become part of the decor.

You see, I figured it would make the perfect over the worktable lamp. All we had to do was run wire through the pipe and put sockets in each "shade".

And I was right. Bruce got it wired and ready to hang a couple of weeks ago. 

Then this weekend, we went and got the rope, hooks, and toggle bolts to hang it.

Whoop! It's even better than I imagined. I have the perfect industrial, crusty light hanging over my worktable.

Just check out all the light over the table!

Another project that got done was hanging metal pipes for curtain rods. Then I clipped drop cloths on for the curtains. While they will stay open most of the time, it will be good to be able to close them up when needed. 

I hung up these small metal shelves my MIL pulled out of a neighbor's trash too. There are 7 of them. They will hold craft paint bottles perfectly.

The rod and galvanized buckets came from IKEA...perfect for holding brushes, pencils and markers.

Hurray! Three more projects crossed off the list! 

Next time, I'll be sharing what Bruce and I came up with for canvas storage. It is awesome!

😊 Cecilia

Linking up at these parties!
Show and Share
The Scoop
Vintage Charm Party
Farmhouse Friday Link Party


Monday, October 10, 2016

Kitchen Project - DIY Industrial Coffee Cart


One project I wanted to do for the kitchen during this redo was to make a coffee cart so that I could move the coffee pot and Keurig off the counter.

 I thought about using a sofa table along the chalkboard wall. See the length of the wall? It's definitely long enough.

I had the one I found in the dumpster (read about it here) by my front door - it was perfect with the shelf underneath, the width of it, the length...

so I moved it into the kitchen to try it out...

Oh no! It blocked the area going into the laundry room. You can see from the old photo below how the door sits between the end of the cabinets and the chalkboard wall.

With the sofa table there, I had to squeeze past it to get into the laundry room. I guess the length wasn't perfect. Now what do I do? I searched stores for a table the correct width and length. I didn't find much and what I did find was too flimsy. 

Then I saw this on Pinterest:
source
Of course, it sparked an idea - I would just make my own! I measured how long it needed to be making sure the passage to the laundry door wasn't blocked, then figured out how tall I wanted it.

Armed with that info, I headed to my local Lowe's and Home Depot to get supplies. A pine board ( I had them cut into 3rds for me), four 18" pipes, four 8"pipes, 16 floor flanges, four 3" metal casters, and screws.

I sanded then stained my boards. Love the rustic look of them! And Bruce added a plug to the wall.

We wiped down the pipes with Mineral Spirits to get the grease and grime off. After the boards dried, Bruce assembled the cart. I love those wheels! 


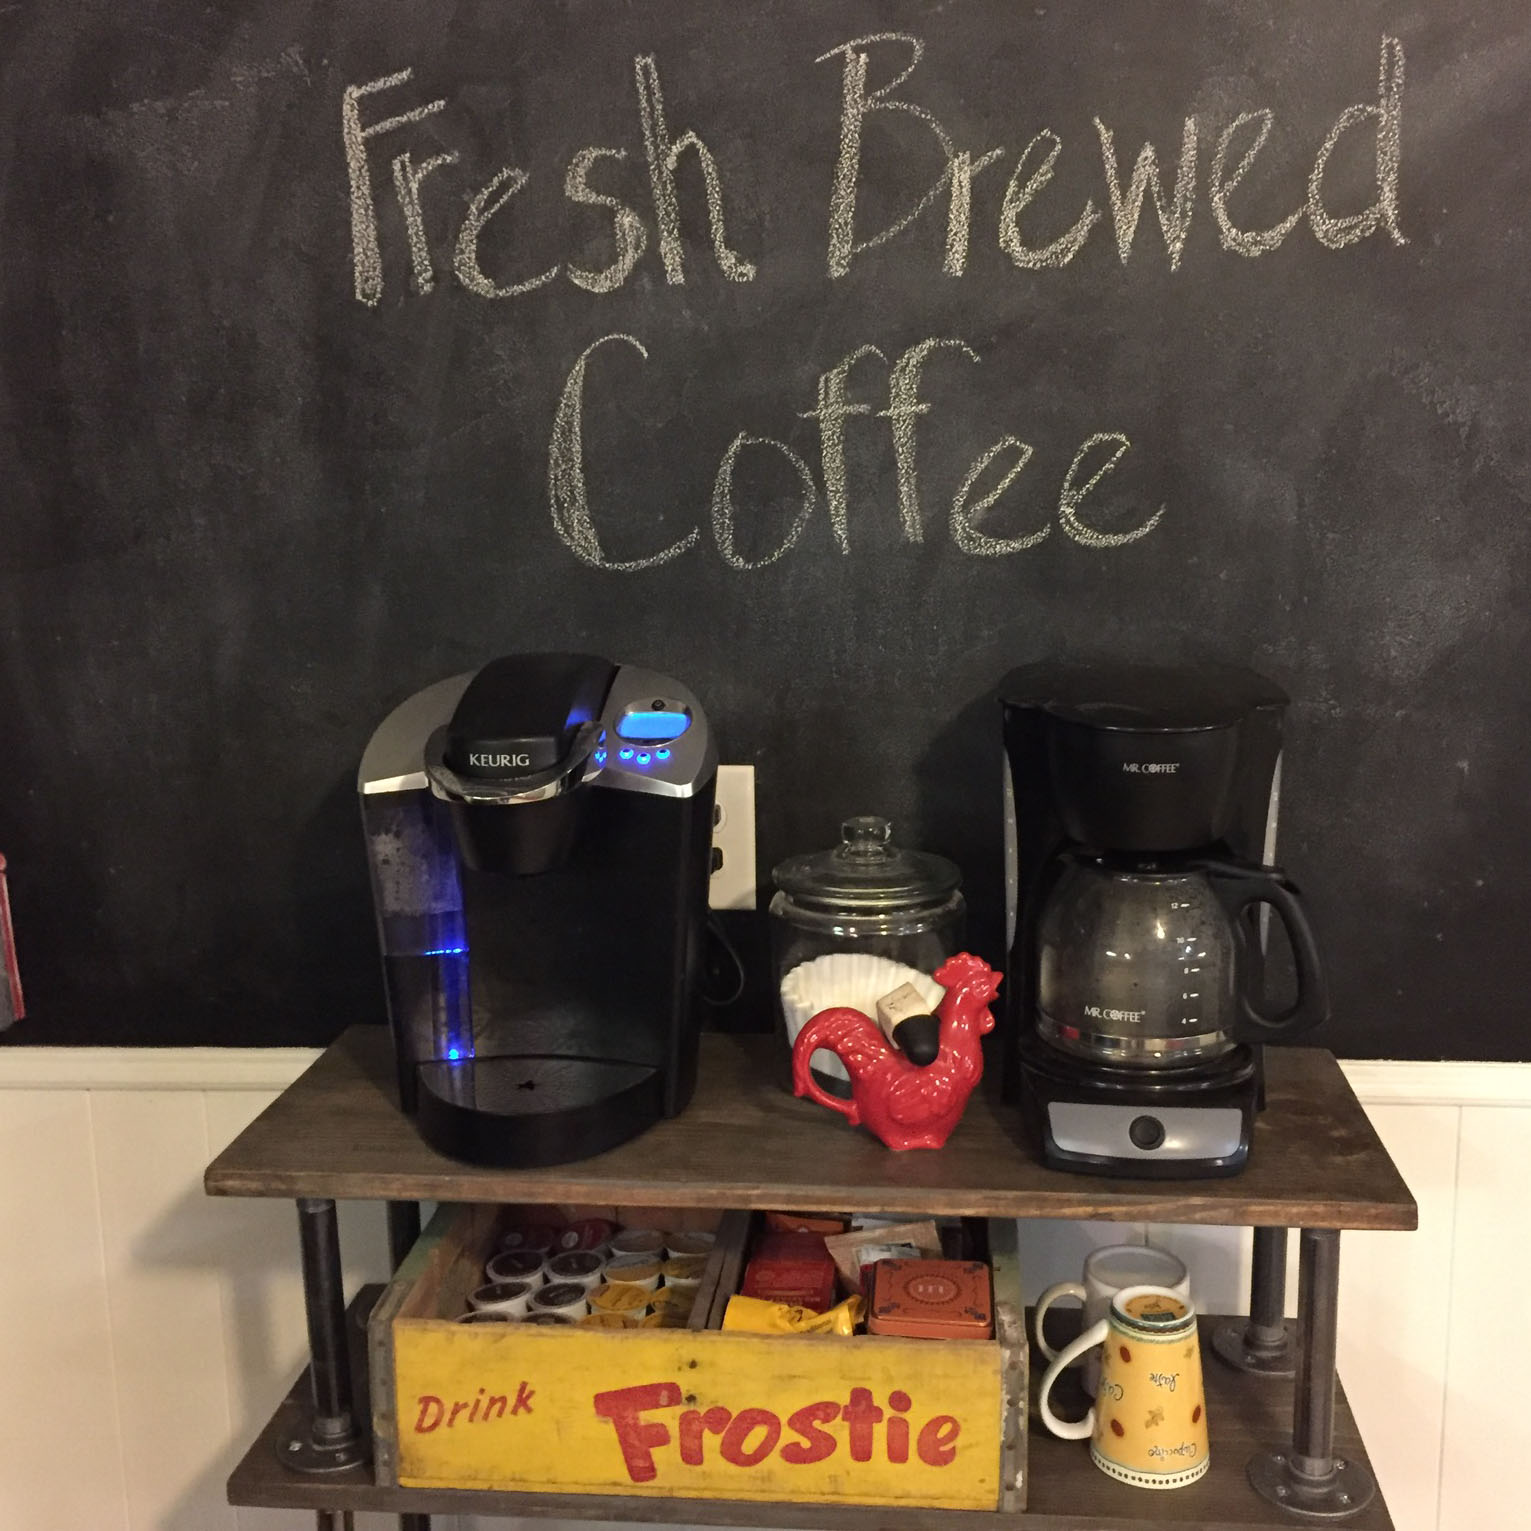
Once in the kitchen, I put the Keurig, coffee pot, coffee filters and my red rooster creamer on the top shelf: 

On the middle shelf, I used an old wooden soda crate and put the K-cups on one side and  the coffee and teas on the other side. I even have enough room for some coffee cups...

Coffee cups added:

The bottom shelf holds my magazine rack turned cookie sheet holder. I really love how my industrial cart turned out - it's the perfect size for the spot!

As you can see, it doesn't block my way into the laundry room:

I now have a clear counter top next to the sink - I put my bottle drying rack there and loaded it up with my coffee cups (added bonus - more room in the cabinet!):
The blue bowl in the center belonged to my mother. I can put my tea bag squeezer in there or add ice and a creamer. My mission has been accomplished! Hurray!

One more big project for the kitchen and I'm calling it done. Since painting my lower cabinets, I've decided the doors and drawers are ok for now so that redo is getting shelved until later. But the ceiling - I still want my bead board ceiling - so we're tackling that next.  I'm super thrilled with how the kitchen has turned out. I can't wait to share it all with you!


Springtime Projects 3: Have A Seat!

It might still be Spring, but here in Texas, things are starting to heat up and feel like Summer. I knew I needed to get the last of my Spri...