Monday, July 27, 2015

Bathroom Reveal


Well, we did it! We have a beautiful new bathroom with some amazing features and we pulled it off in a couple of weeks. It was hard work but so worth it!
I'm still shopping for a couple of things (like a narrow tray for soap, etc) but I'm in no hurry. I'll wait for the right pieces.

Let's start with some before pictures. After all, we've come a long way, baby!

Here's how it looked when we bought it 3 years ago:


Oh my! The pink and lace had to go! After a thorough cleaning and removal of wallpaper, everything got a fresh coat of paint. Here's what it looked like afterwards and before we redid everything:


This wasn't bad but we didn't like the vanity or the tub. And that is what prompted the new makeover.

So let's see how it ended up. Enjoy!

The shower:

 I was fortunate to find a tile that goes perfectly with my wall paint. It wouldn't have been a huge deal to repaint but it saved a ton of time!

Love the detail tile. It adds that wow.

Can I just say I'm  not missing the old tub one bit? I love my new shower!

The floor tile:

This is seriously one of my favorite features of the whole room. I love how it looks like real rustic wood but since it's tile, there are no worries about moisture.

The buffet turned vanity:

What can I say? I love this piece. Even though I ended up repainting it because of a mishap with the polyurethane, let me just say it was a happy mishap. I truly think if the piece had been left white, it would have lacked the visual punch the new color gave it. This is truly my most favorite feature in the whole room. It had been a little neglected but now has a new lease on life.

Swoon worthy!


Finishing touches:

I painted all the woodwork white, getting rid of the few areas that had been stained. Now it all looks clean and cohesive.

Repainted the shelves in the floor unit with the vanity paint- that got rid of the scratches in the previous finish and tied it in to the vanity. I'm going to Canton to get more of the wire baskets for the shelves. They are the perfect size and will corral the supplies I keep there.

White shower curtain and window curtains - made from inexpensive white sheets. A perfect way to get a lot of material for a small price. The white really adds to a spa feel.
Notice the nice fresh white window sill!

I'm going to add some trim to the curtain ruffle
The sign I made over,

The Scrabble letters,
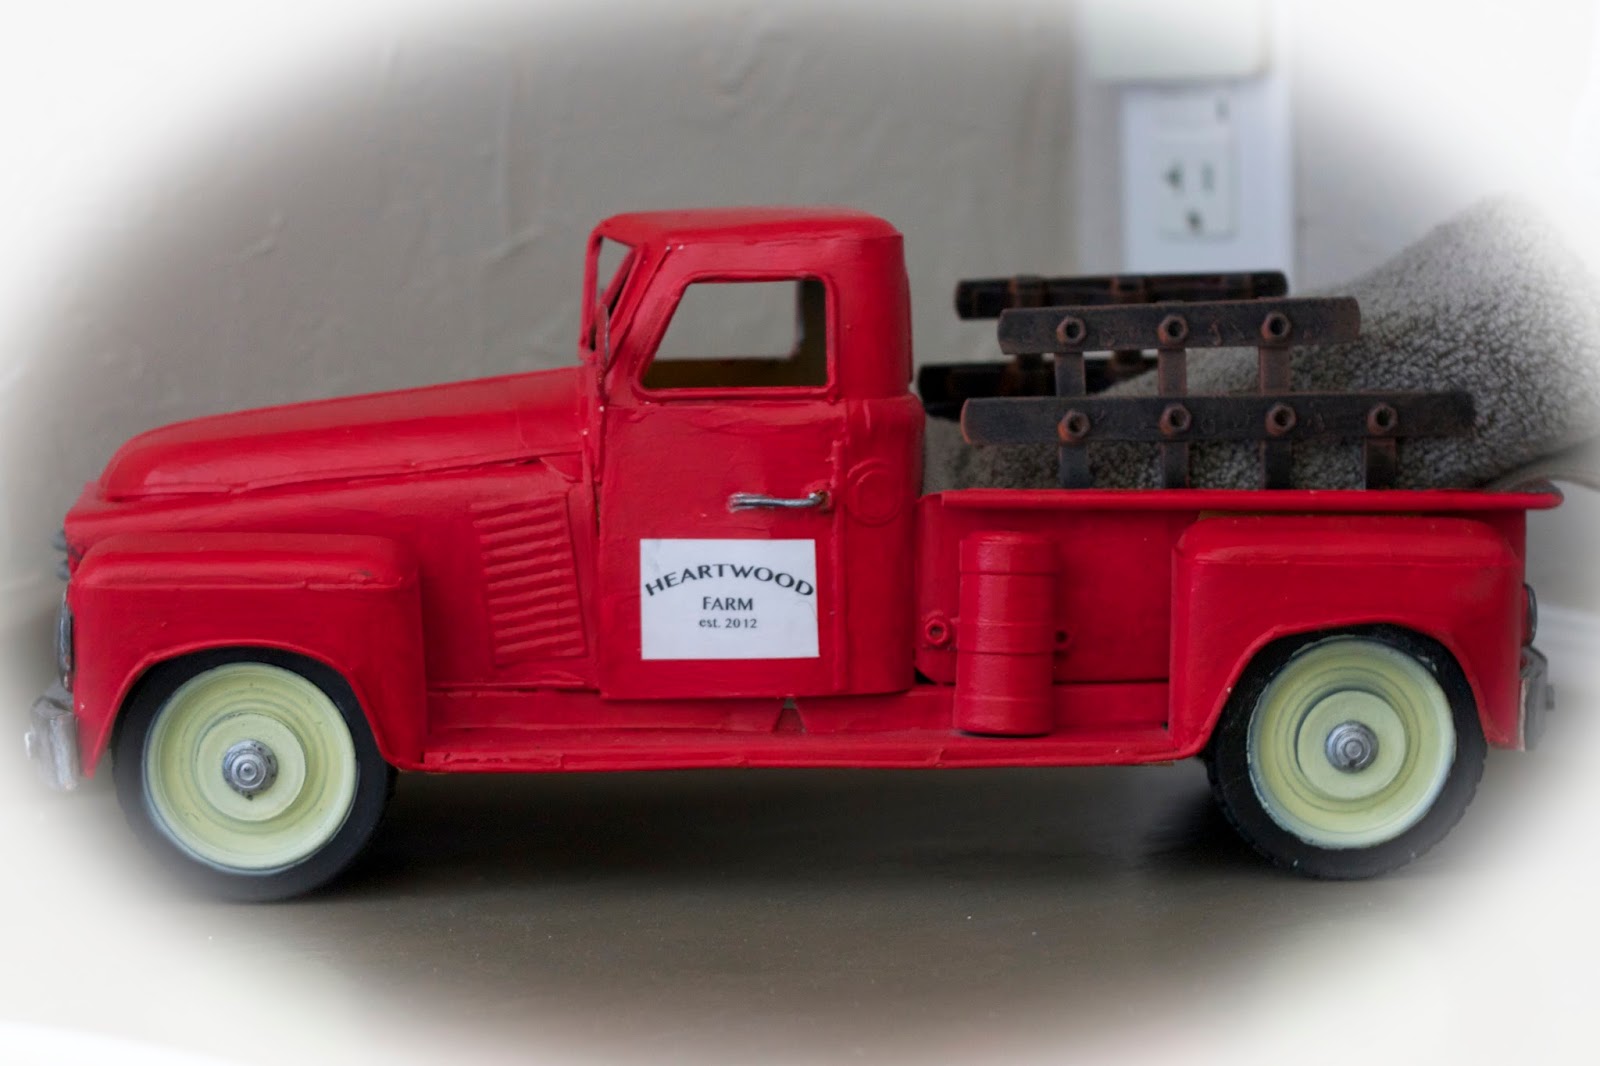
Red metal truck,

Old tin ceiling tiles,


They look amazing with the vanity!

I recovered my little stool and repainted it in ASCP Coco:

I also made a small sign to hang above the bathroom door in the hallway:

We are so pleased with the results. It is definitely all I imagined - only better. I think Bruce did an amazing job with it all. We couldn't love it more!

Do you have a favorite?


Happy week to you!
Hugs,
Cecilia

I am sharing at these parties!
My Heart Lives Here
Coastal Charm Show and Share
DIY Showoff That DIY Party
A Stroll Thru Life Inspire Me Tuesday
The Dedicated House Make It Pretty Monday
Savvy Southern Style Wow Us Wednesday
Fluster Buster Creative Muster Party

Thursday, July 23, 2015

The Final Bathroom Projects

 Woohoo! The bathroom is done except for some finishing touches. But now we can "RELAX".

I'm on the search for a couple of things which I hope to find in the next couple of weeks. But before I share the reveal, I want to go over some of the projects.

First the fun stuff: I wanted to completely refresh the decor to go with our new bath. I found this wood sign on clearance at Target:

Ok, that saying doesn't go with a bathroom. Let's give it a makeover. New paint and stencil with a new saying and now it's perfect:


Next up, a metal truck. I wanted one of these back at Christmas when I saw them all over blogland but they were all too expensive so I never bought one. Then recently I was in Ross and saw this one.

It was only $15. Oh yeah, it came home with me. Never mind it was orange. I can fix that. And I did. Plus I added a sign to the doors.


Yep, it says "Heartwood Farm est. 2012 (that's the year we bought the farm). I'm going to have fun decorating it.

I also picked up an old Scrabble game at a thrift store (already using it on the window sill to spell out "relax"), gathered up some items from around the house to use on the walls, and then painted the shelves of the floor shelf unit in ASAP Coco as they were scratched up - plus it ties it in with the vanity. Now I just need more metal baskets I got in Canton last month. hm...sounds like a Canton trip is in my near future!

We had a lot of work to do after all the tile work, like adding bead board where the vanity used to be and new pieces next to the shower plus new trim:

Painting the window sill, door trim, door and of course, all the bead board and trim:
getting the door ready to paint - the color is really mahogany like the window sill below

stained window sill to be painted
Removing the popcorn on the ceiling and giving it a fresh coat of paint as well, and sealing all the grout...

Oh the grout. The floor grout did something unexpected. Bruce mixed it up and it was nice and dark brown, he grouted the floor and it dried...white. What?? Apparently it can happen. It is called efflorescence.

Efflorescence - Wikipedia, the free encyclopedia

https://en.wikipedia.org/wiki/Efflorescence

Wikipedia
In chemistry, efflorescence (which means "to flower out" in French) is the migration of a salt to the surface of a porous material, where it forms a coating. The essential process comprises the dissolving of an internally-held salt in water, or occasionally in another solvent.

Oh great...we didn't want white grout on the floor. Now what? Are we going to have to chip it all out and redo it? Please no...We looked it up and discovered acid will remove it. Although they do make an acid for this very purpose, we used plain vinegar (so-so results) followed by apple cider vinegar. The apple cider vinegar seemed to work the best although that meant I scrubbed each line twice.

Are we having fun yet? Finally the grout was no longer white. What a relief.

Then we hung the door up. Now only one side was stained mahogany - the inside - which I painted white; the outside was its original golden oak color. I didn't think anything of that side...after all it was the side that faced the hall and all the doors were that color. That is until it was opened (it opens in) - IT LOOKED AWFUL - clashed with the floor. I told Bruce, "I'm going to have to paint the other side as well!" He replied that if I did that, I'd have to paint all the doors. Oh no!! I don't need more work. I need to finish this bathroom. What to do??

I decided at this point I needed a break. My hands were hurting, I was stiff from kneeling on the floor, and now about to cry over the stupid door. I headed into the bedroom to grab a magazine and my eye fell on the dusty dresser. (Demolition causes a lot of dust!) As I swiped my hand across the dust, I remembered I had stained the top with Minwax poly/stain combo in Walnut. Could it, would it work?

I ran to the garage to find the can...and...wiped a bit on the bottom edge and sure enough, it turned the door darker!! I quickly wiped it on the whole door. What a relief. It now blends with the floor instead of clashing. I then did the two bedroom doors too so they match. Another disaster averted! :o)

Bruce got the buffet all configured for the plumbing - you can see the drawer detail below where he notched the middle drawer and then built sides so we still have storage in that drawer.
Pre-grout cleaning...you can see how white the lines are

I antiqued both lion pulls and the new white knobs with some of the buffet paint color. It really makes them stand out and helps them not be so stark white.

Whew! If you've stuck with me through all of that, congratulations! We just have a few small details to finish (like hanging the towel hooks...I am not putting a towel bar back on the door!) but we are otherwise done! We love how it all turned out. It may be my most favorite room in the whole house now...it feels so fresh and calming. Be sure to come back next week for the final reveal. Trust me, it's gorgeous. 

Have a wonderful rest of the week! 

Thursday, July 16, 2015

Thrift It/Gift It/Facelift It! Makeover Challenge

Hi everyone! I am happy to be participating in a fun thrift makeover challenge. Tania from Little Vintage Cottage put it all together. She is calling it Thrift It/Gift It/ Facelift It.

 Basically, we buy something from the thrift stores, send it to the person Tania assigns us to, then give our stuff a makeover and reveal it. Sounds fun, doesn't it?

I was pleasantly surprised to find a package from Donna yesterday. Wow, Donna! You're fast! I eagerly tore my package open...

Let's see what I have.

A old faded photograph and a clothespin,

a small canvas bag with lace,

an old wooden ruler,

three of these shoe things and a pretty piece of fabric.

What will I make? Hm, the wheels are turning; I have a couple of ideas. I think the shoe things (what is their proper name?) will probably give me the most challenge.

So tell me, what would you do with them? :o)

We will all reveal our makeovers on August 29th! Stay tuned!

You can hop over to see what the other ladies get:
Vicky at Life On Willie Mae Lane
Kim at Snug Harbor Bay
Kimberly at Seaside Ave
Donna at Distressed Donna Down Home
Tania at Little Vintage Cottage

Monday, July 13, 2015

Side Garden

It's hard keeping up two places (I know, cue the first world problem music), but the truth is when you have two places and you're pouring most of your energy into redoing one, the other gets neglected.

Enter my side yard in the city: I called it my secret garden. You can get to it by going through the backyard or through the dining room french doors. 

 It used to be a favorite spot to sit on the deck and relax as it is right off the dining room. I had a small table out there where we sometimes ate. There used to be just a window there but Bruce replaced that with the French doors and added the deck. Then we added an awning about 5 years ago to cut back on the hot sun which really made it nice.
But a couple of things happened - we bought our country place that needed lots of updating and care and our neighbors moved and the new people sit out on their back porch smoking all day (literally). Ugh. It blows right over the fence and stinks. 

So we moved the patio furniture around to the barbecue area and pretty much quit hanging out there. I'd weed it about once a year, but that was all I had the energy or inclination to do. To say it got overgrown is an understatement...it has gotten so bad, Bruce took to calling it my secret "jungle". 

Recently, my twin sister was sharing her side yard makeover with me:

my sister's side yard - it's wider than mine
and I got the bug to clean mine up! Never mind it's July and hot. I'm whipping this garden into shape!

First, I started tackling the gravel pathway and overgrown beds. Yikes! This is going to take awhile as I can only work outside for about an hour or two before I have to come in and cool off! But I've made some progress!
stones reset and gravel pathway cleaned out
Looking down the side of the house and toward the street - the front part is starting to shape up. Notice my birdbath and gazing ball? That's not where the gazing ball belongs. ha.


Looking toward the backyard and gravel pathway:
Do you see the dogs? They want to come check the secret garden out.

Privacy panel - blocks neighbor's kitchen window and our breakfast nook windows so we can't stare into each other's house:

Another view toward the street - it's very overgrown:

Weeds between stepping stones:

I've got a long way to go - I'm going to add river rock for mulch (the rain water drains through here so regular mulch won't work, plant my birdbath with succulents since it's cracked, clean and restain the deck,


add some seating, and decorate!

I'll be sharing the progress in between the bathroom remodel so stay tuned!

Oh and the stinky neighbors? They're moving. Here's hoping the new homeowners aren't smokers!
_________________________________________________________________________________

I was on my way to the grocery store and saw this on the curb:


It was FREE!! It's pretty rough but perfect for the side yard!

Have a wonderful week!
Cecilia

Linking up at these parties:
Coastal Charm Show and Share

Springtime Projects 3: Have A Seat!

It might still be Spring, but here in Texas, things are starting to heat up and feel like Summer. I knew I needed to get the last of my Spri...